For several years, everything that my students did went into a single composition book that we called a daybook. (Most of my professional texts are still packed up, so I can't access the titles where I got this idea. I'll post again when I'm unpacked.) We glued everything into our notebooks: poems, editing sentences, mentor texts. We numbered the pages and filled in the table of contents. We also had a folder system that I took from Nancie Atwell's In the Middle. I liked many things about our daybooks: everything was in one place, pages couldn't be torn out, and it is impossible to lose something that is glued in a notebook.
Over time, however, we outgrew the needs of a single notebook. We had always kept strictly chronological notebooks, and most students needed a new one mid-year. Many notebooks also became extremely worn. The covers would fall apart. I decided that we should use two notebooks, one for writing and one for reading. I also decided to store all of the notebooks in the classroom, only sending them home when needed. Classes are small enough at my school that I can do this, but I needed a way for students to quickly find their notebooks when it was stored in a bin of twenty. I also wanted them to quickly distinguish between reading and writing.
The way to do this, I decided, was to cover sixty notebooks with craft paper.
I considered having the students decorate them, and I still might do this in a year when a much bigger class comes through. I know this gives students ownership over their notebooks. In my experience, though, it had mattered that each year I provided students with their first daybook. They were just a little bit more careful. They couldn't decide to switch notebooks mid year. The notebooks were all exactly alike.
I'm also very careful about how often I ask students to do crafts-type projects. I wanted the notebooks to hold up over time. I wanted them to look nice, because I think neatness counts, and middle schoolers especially need help with this. I didn't want to give the class time necessary to complete the notebooks with me (numbering pages and setting up tables of contents already takes a lot of time), and I don't like to make projects like this a family responsibility. If I wanted sixty unique notebooks, I would need to make them myself.
I'm lucky; we're able to order any classroom supplies that we need, so I ordered enough composition books for the first year, and when school started I collected the ones that students had purchased to use the next year. I've collected a lot of papercrafting supplies at home over the years, and most of what I used came from that stash. I looked for instructions online, made a few demos using different techniques, and settled on the following.
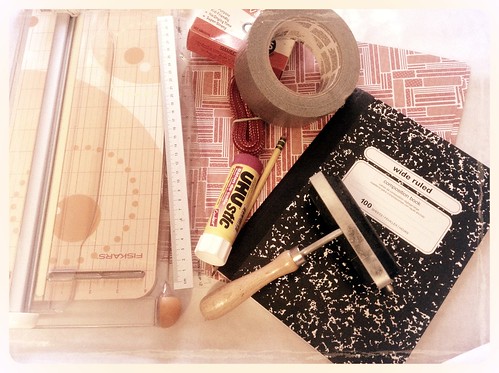 |
| You will also need scissors. |
Supplies:
- Composition books
- 12x12 patterned paper (I prefer regular paper, not cardstock, and without embellishment or glitter. I buy the big packs of scrapbooking paper when they're on sale. Yesterday I got 180 sheets for ten bucks.)
- Paper cutter (You can use scissors or a craft knife, but you'll probably want a paper cutter if you're doing more than a few.)
- Glue stick
- Pencil
- Ruler
- Ribbon (for bookmark, optional)
- Glue dots (for bookmark)
- Scissors
- Duct tape
- Freezer paper or a cutting mat or something to protect surface from glue. Wax paper works too.
To start, cut your patterned paper. Every brand of composition book is slightly different in size, and you might want more room around the edges. I cut my paper this year to 11.5 by 8.5 inches. You want room to fold the paper over.
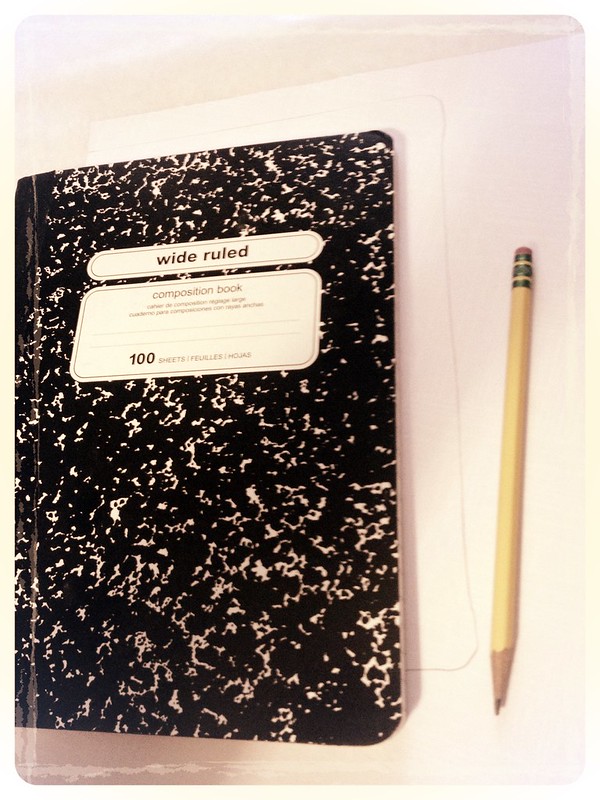 |
| This paper is still 12x12. Oops. |
Trace around the edge of the notebook so you know where to apply glue. I place the paper about half an inch from the spine when I do this. Glue both the cover and the paper liberally for the best seal. It's a lot of glue, but you want it to last a year.
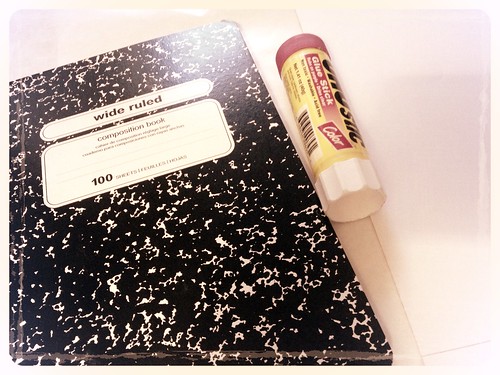 |
| Best glue stick ever. |
 |
| What it should look like. |
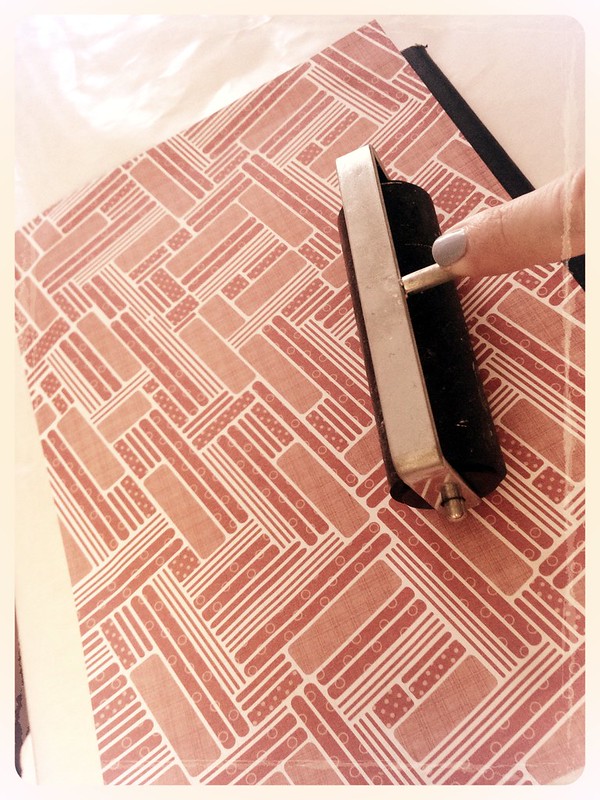 |
| Use brayer for best results. |
 |
| Inside view. |
Now it's time to start folding. I do the corner and then the edges. You can cut the corners for a cleaner look, but I don't bother. In all steps I glue both the paper and the notebook.
 |
| Use lots of glue. |
 |
| Fold corners. |
 |
| Fold edge. |
 |
| Fold all edges. |
The inside will look messy at this point. That's okay. It's also extra work to glue around the edges (rather than trimming the paper off), but you want this to last a year. Repeat for back cover.
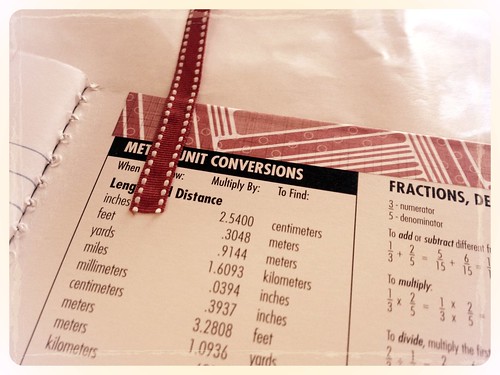
I add a bookmark at this point. You can easily skip this step. I'm not sure how useful the bookmark ultimately is, but it adds a more finished look, and students like it. Skipping this would definitely save some money if this comes out of your pocket.
 |
| Glue dots are awesome. |
 |
| Three glue dots. |
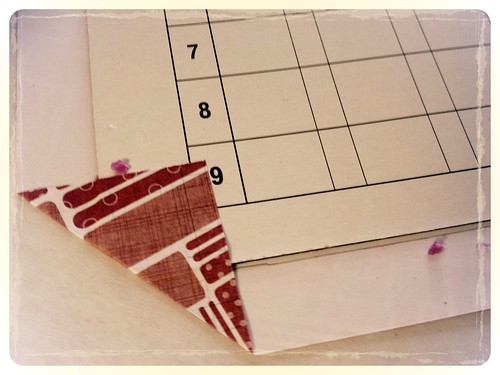
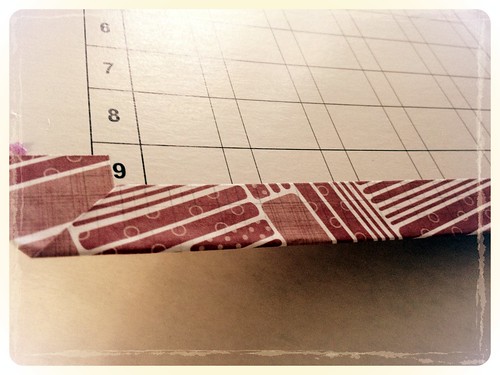
Cut your bookmark to any length you want. I do a diagonal cut on the end that shows. I use three glue dots to secure the ribbon. This one should actually be a little closer to the spine. Oh well. Don't worry, this will get covered eventually.
 |
| Duct tape! |
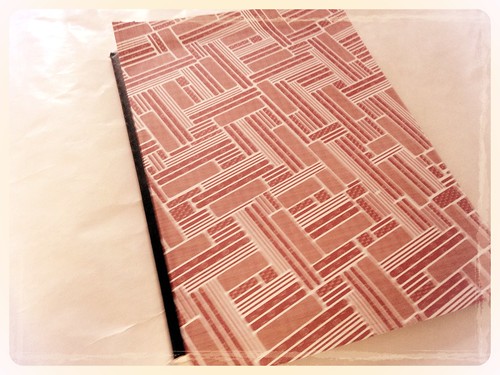
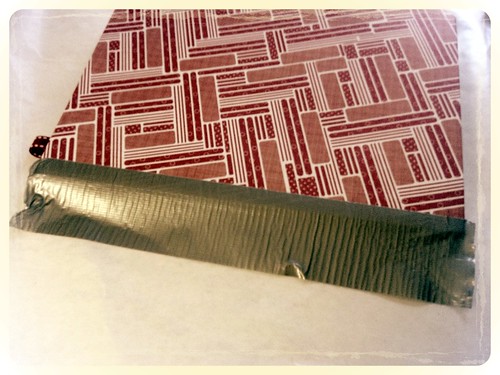
I use duct tape for the spine. It's durable and easy to work with, relatively cheap, and available in many designs. This year all the spines will be silver. Rip or cut a piece of tape the length of your notebook. Secure to one side, as above, and flip it over. You'll probably need to trim the edges. Don't use your good scissors for this because the tape leaves a residue.
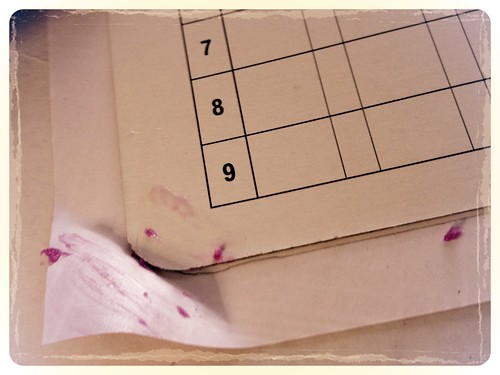
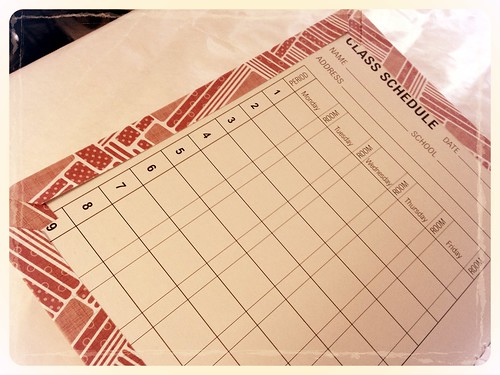
I have my students do this next part because it's easy for them and boring for me. You can use any paper. You can even use something you've copied, like a schedule. I used craft paper as an example. I'm not going to give measurements because I always mess this step up and end up with paper that's too small. Note that this paper covers the bookmark. It also helps seal the edges.
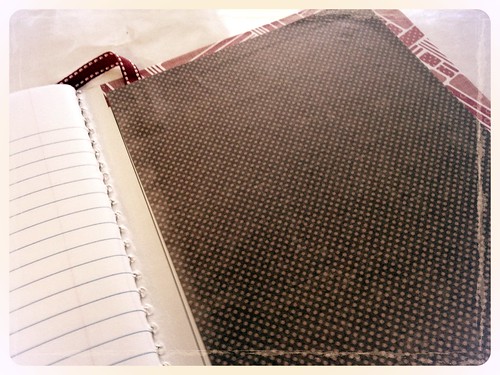 |
| Inside. |
Voila!

One down, fifty-nine to go!
I'm not going to lie, covering all these notebooks is a big time commitment. Most people won't want to do this, and I totally get that. I like papercrafting, and this gives me a chance to do something creative. I do it all on my own time, however, and it takes a few days. I don't do a ton of classroom decorating; I do this instead. Even if they don't say it, students notice when you do something like this for them. I always get a positive response when I make something rather than buying it, whether it's baked goods or bookmarks. Even if they think you're a little crazy, they still appreciate the work.
I'll follow up later on how I hand them out, how we divide sections, and how we set up the table of contents and page numbers. Now, though, I need to go buy more feathers!
 |
| Yes, I made feather pens. |
Love, love, love that you do this for your students! I don't think I could pull off 125+, though.
ReplyDeleteYeah, this is definitely something that requires small classes.
DeleteThanks for reminding me how much students appreciate it when you make something for them! I am not crafty, but your instructions make it look easy.
ReplyDeleteThey are pretty easy, especially with a little practice. It is time-consuming though.
Delete